Deactivating or Deleting a User
Overview
Users who no longer require access to the POS or Back Office can be deactivated or deleted. However, there is an important distinction: only users that have not processed any transactions can be deleted. Employees with transaction history must be deactivated instead, preserving audit records while blocking login access.
Steps
1. Access the User Menu
Navigate to the User Menu in the Posterita POS Back Office.
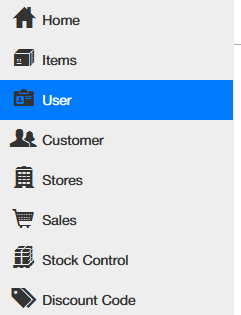
[Screenshot: User Menu interface in Posterita Back Office]
2. Select the User
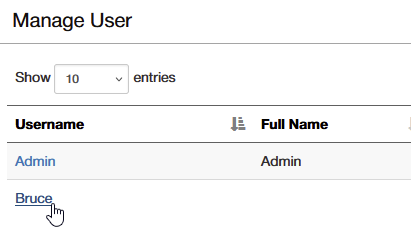
Find and click on the user's name to open their profile details.
[Screenshot: User selection in the system]
3. Deactivate a User
- Click the Action button (top right) and select Deactivate
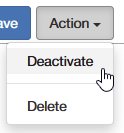
- The user loses access while their profile remains in the system for future reference
[Screenshot: Deactivation action menu]
Use deactivation when: The employee may need future access or their historical data is required for reporting.
4. Delete a User
- Click the Action button and select Delete
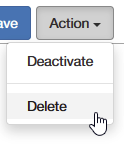
- Confirm the deletion when prompted
- Restriction: Deletion is only possible if the user has no associated orders
[Screenshot: Deletion action menu]
Important Tips
- Deactivating vs. Deleting: Deactivation preserves user details and maintains audit trails for historical transactions. Deletion is permanent and should only apply to users with no order associations.
- Fraud Prevention: Removing inactive users prevents unauthorized access by former employees who might exploit retained credentials.
- Audit Trails: Deactivated users' data remains part of the system, ensuring that all previous actions, orders, and transactions are maintained for audit purposes.