Printer Setup in Posterita POS
Configuring printers in Posterita POS allows you to choose specific devices for printing receipts, bills, and kitchen orders. Follow these steps to add and configure a printer.
1. Navigate to Printer Settings
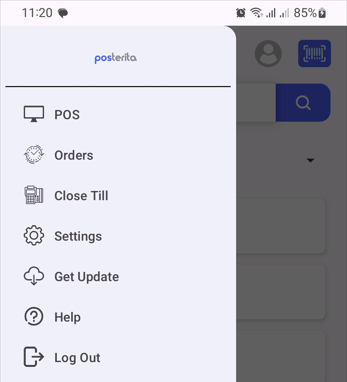
From the main menu, go to Settings > Printers. Here, you can add new printers or manage existing ones.
2. Add a Printer
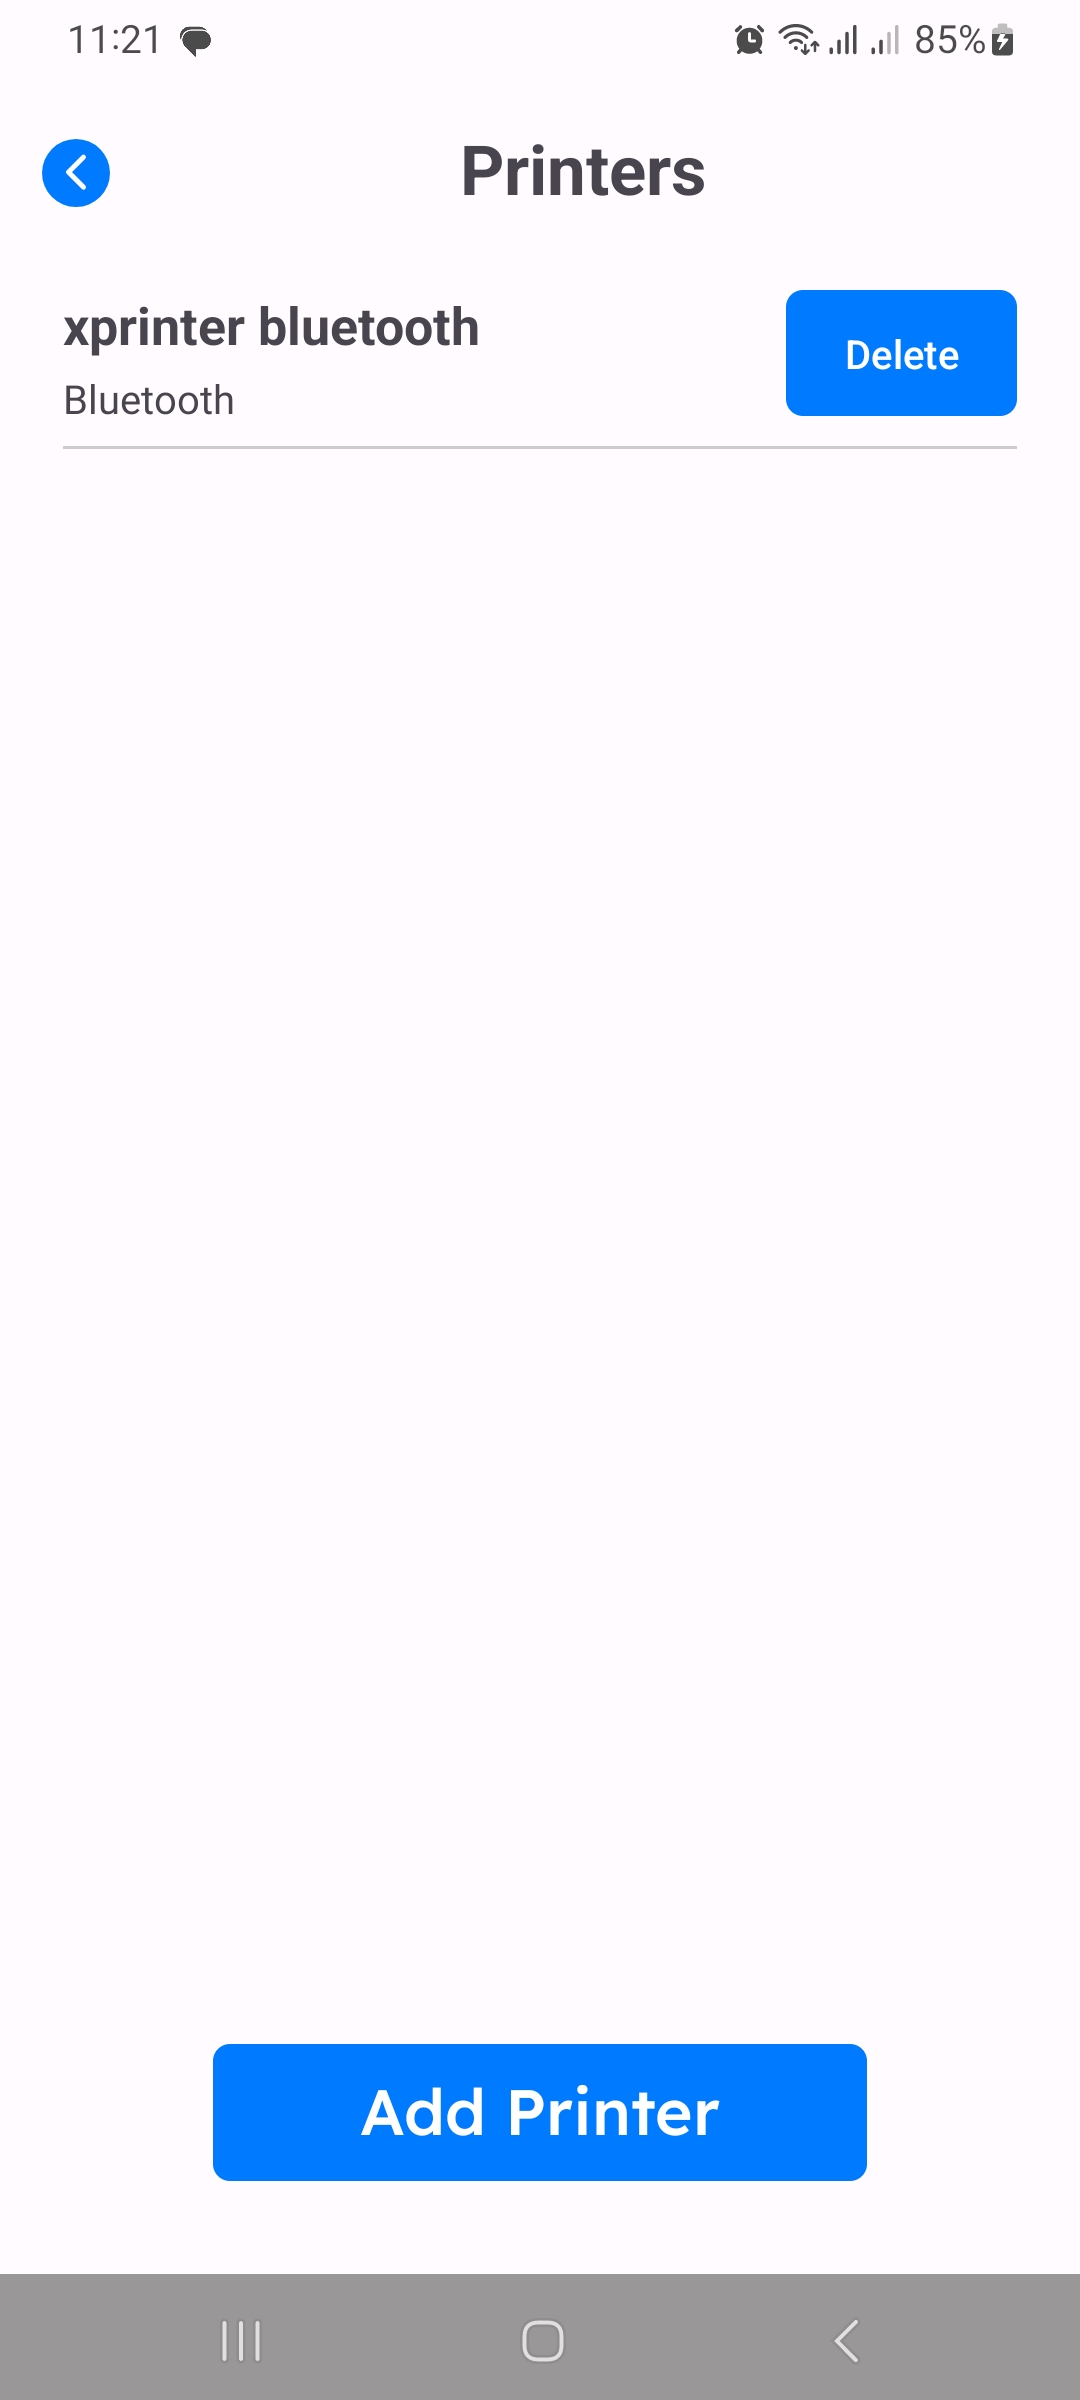
Tap on Add Printer to start the setup.

3. Enter Printer Details
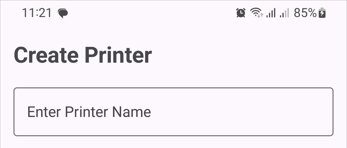
Printer Name: Type in a descriptive name for easy identification.
4. Select Printer Interface
Choose Bluetooth or Ethernet based on your printer's connectivity.

5. Bluetooth Setup
- Ensure the Bluetooth printer is paired with your device before setup.
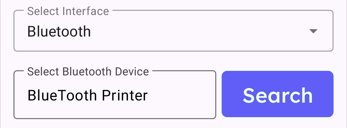
- Tap Search to find paired Bluetooth devices and select your printer.
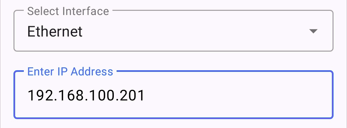
6. Ethernet Setup
If you're using an Ethernet printer, enter the printer's IP Address to connect.
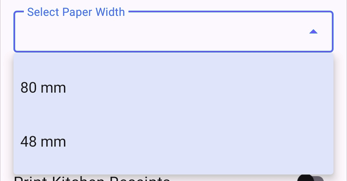
7. Choose Paper Width
Select the appropriate Paper Width for your printer (e.g., 80mm or 48mm).
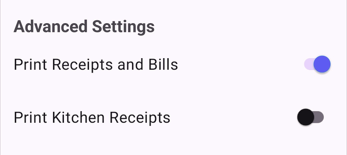
8. Advanced Settings
Toggle options for Print Receipts and Bills or Print Kitchen Receipts depending on the printer's role.
9. Print Test and Save
- Tap Print Test to confirm the connection.

- Once successful, tap Save to finalize the setup.
Why Printer Setup Matters
Configuring your printers accurately ensures that transactions print correctly, streamlining the ordering and payment process.
Tips
- Naming: Use a descriptive name (e.g., "Main Printer" or "Kitchen Printer") to avoid confusion.
- Test First: Always perform a test print to verify the connection before saving.
- Paper Width: Check your printer's specifications to set the correct paper width, preventing cut-off receipts.
By following these steps, you can easily set up printers in Posterita POS, ensuring a smooth printing experience for different types of receipts and orders.